

3Dmax制作千纸鹤教程

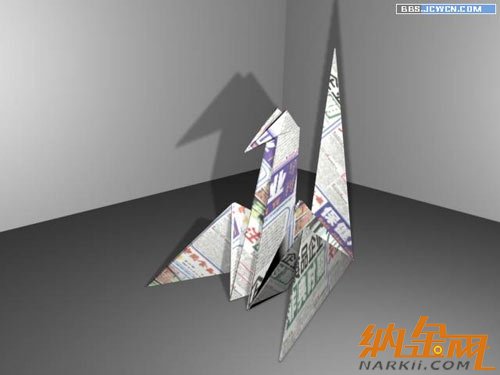
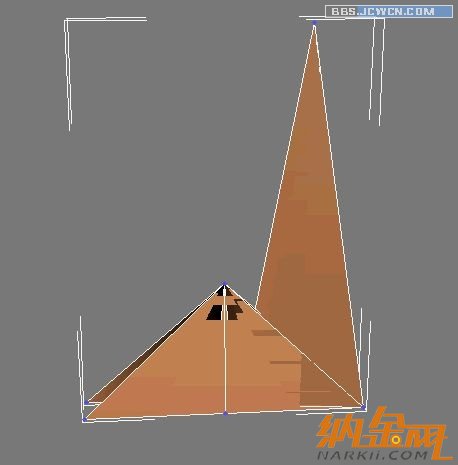
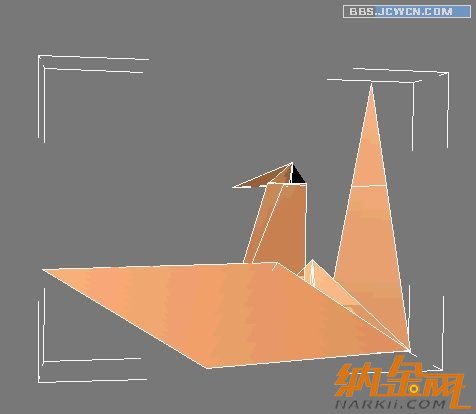
先看效果图:
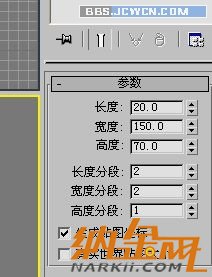
在顶视图中建立box
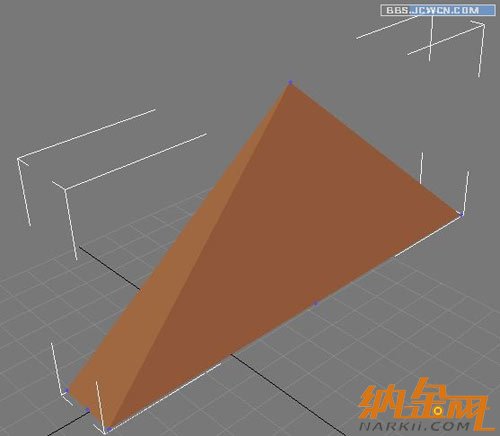
转换成可编辑多边形,将顶部的点拉向中心并焊接
将底边中心点拉向中心适当位置

选中如图所视的边挤出,挤出数量为零

将挤出的边用鼠标向上拉到适当位置,然后焊接顶部的点,如图
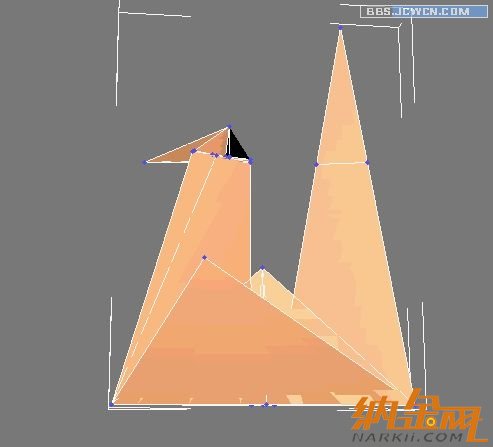
用同样的方法挤出前面的边,调节后如图
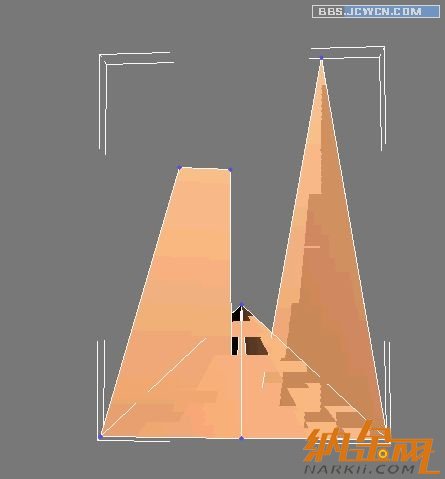
在顶视图中,删除如图所选取的点!
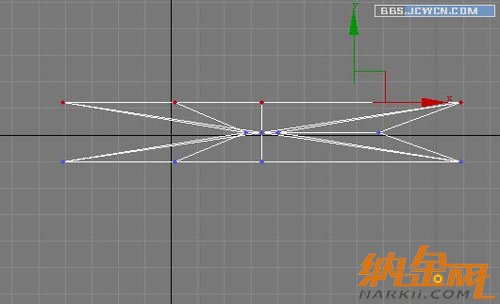
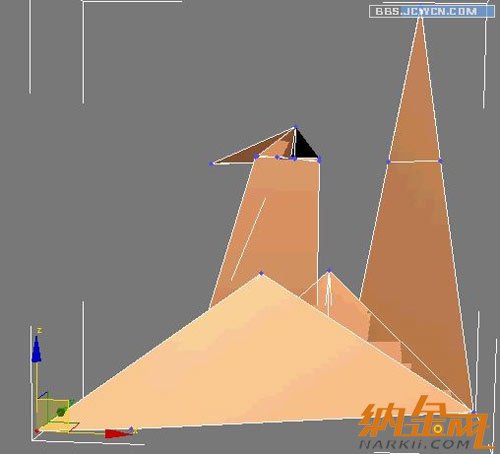
在前视图中切割出如下线段

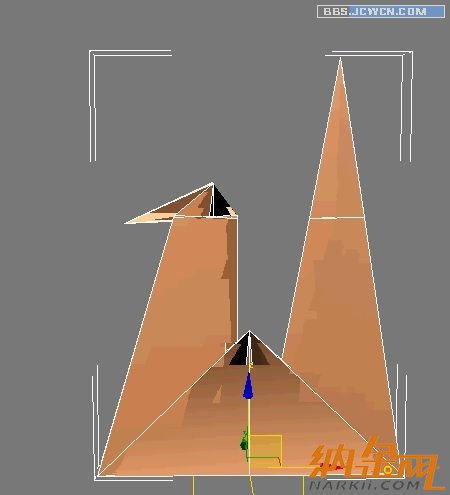
加载对称修改器,这一步用镜像实例复制也可以。看自己爱好了!

调节头部的点!
将底边挤出!

调节一下
还是边挤出,没什么新意,呵呵!
调出翅膀形状
删除底面,加载壳修改器,设置数量为2,这样纸鹤就有了厚度

最后就是渲染了,过程也是很简单的,你打开个网页,用QQ上的剪刀工具,裁剪一块文字多的地方,贴上即可,效果还行吧?

在顶视图中建立box
转换成可编辑多边形,将顶部的点拉向中心并焊接
将底边中心点拉向中心适当位置
选中如图所视的边挤出,挤出数量为零
将挤出的边用鼠标向上拉到适当位置,然后焊接顶部的点,如图
用同样的方法挤出前面的边,调节后如图
在顶视图中,删除如图所选取的点!
在前视图中切割出如下线段
加载对称修改器,这一步用镜像实例复制也可以。看自己爱好了!
调节头部的点!
将底边挤出!
调节一下
还是边挤出,没什么新意,呵呵!
调出翅膀形状
删除底面,加载壳修改器,设置数量为2,这样纸鹤就有了厚度
最后就是渲染了,过程也是很简单的,你打开个网页,用QQ上的剪刀工具,裁剪一块文字多的地方,贴上即可,效果还行吧?
上一篇:优化您的3D打印,3D物质的填充与3D打印效果对应关系的研究[ 03-12 ]
下一篇:3dsmax室内建模教程[ 03-14 ]

