灯光材质贴图教程(英文) - Quest3D
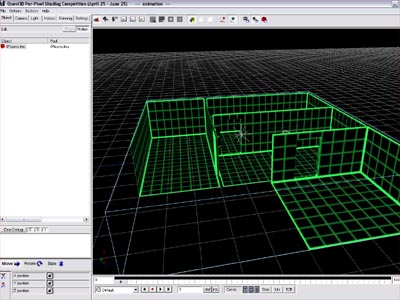
Press F4 or select 'Animation' from the 'Sections' menu to go to the animation section. Make sure the fist button on the toolbar is selected to verify that the view is in perspective mode (orbit cam). You can orbit the 3D scene by holding the Alt key in combination with the left mouse button. You can zoom in and out by pressing the right mouse button or using the scroll wheel. With the shift key you can move the center point of the view.
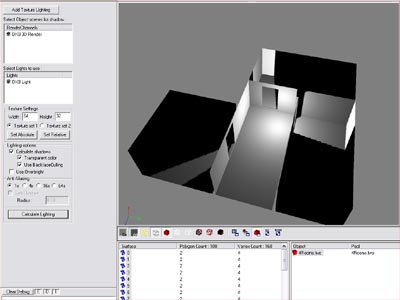
Currently, there is only one light in the scene. You could add more lights or change the position of the current light but the single light we have now should do for now. Go to the object section (F4) and select the 'Texture Lighting' tab. Make sure you have selected the object and press the 'select all Surfaces' button. Now press the 'Calculate Lighting' button to render the light maps.
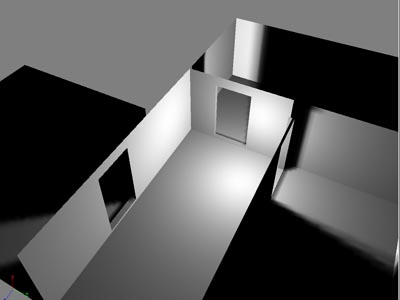
The light maps clearly show 'jaggies' at the edges of the shadows. To solve this we are going to make the texture size a bit smaller and use anti aliasing. Enter 64 in the width box of the texture settings and press the 'Set Relative' button to change the size of all the textures. Next, set the anti aliasing option to 16x and make sure the 'Soft Shadows' box is checked. Press the 'Calculate Lighting' button to render the light maps with the new settings.
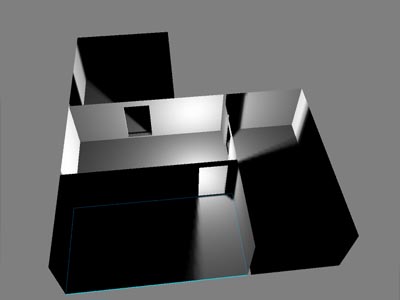
It's also possible to change the settings for a single or any number of Surfaces. select the floor of the room that is pictured at the right of the previous image by clicking once in the 3D view. Enter 64 in the 'Textures settings, Width' box and press the 'Set Relative' button to change the texture size for the floor. Set anti aliasing to 64x and hit the 'Calculate Lighting'. You can use this method to add more detail in light maps where you need it. You can press and hold the ESC key to abort a calculation.
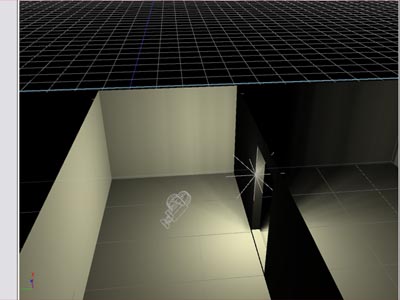
Go to the animation section(F3). select the 'Light' tab and click on the color box. This allows you to change the color of the light. After changing the color, enter 0.05 in the 'Falloff square' box. This makes the light less intense over distance. You can click in the 3D window and drag the position of the light if you want. Go back to the object section (F4) and hit the 'Calculate Lighting' button to see the result of your changes. You can set anti aliasing


